Water Animation
Here comes a tutorial on making animated water. It’s a a lot of work, but I think the result will be nice. Remember that an animation like this takes up a lot of space so do not make it too big.
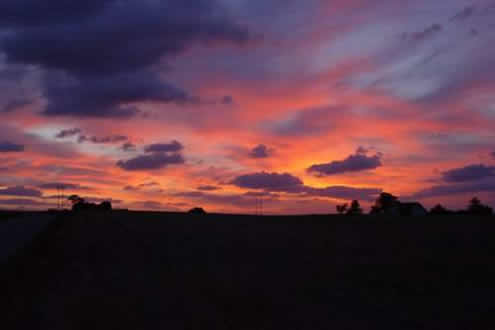
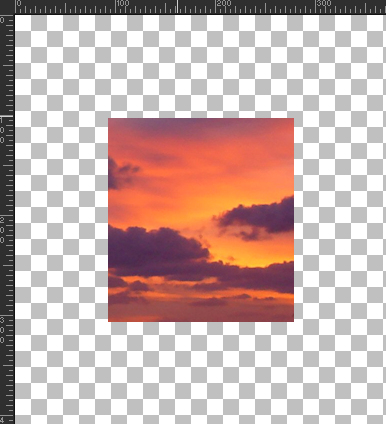
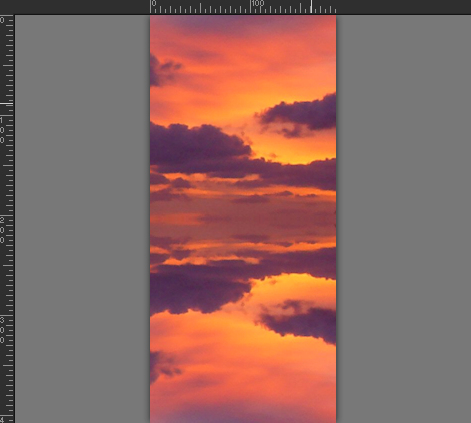
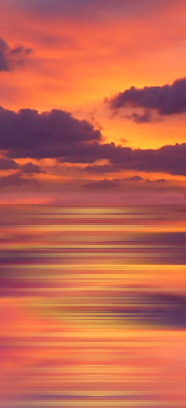
1) Find and open an image. I have chosen one with one of the beautiful sunsets we can see from our windows. I have taken a small bite of that picture, and if you want you are welcome to use both the “bite and the picture”.

2)
In your layer palette, right-click on your backgroundlayer and select Promote background layer.
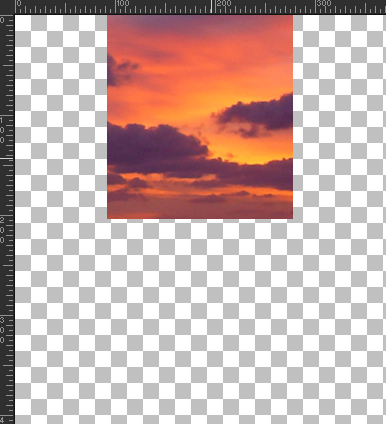
Then select Shift + S. Resize the image by 50% but make sure there is no notch I “resize all layers.
Drag the image up to the top edge with your movertool.
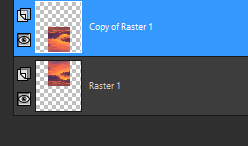
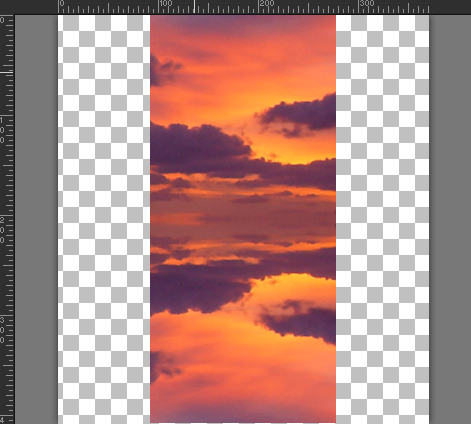
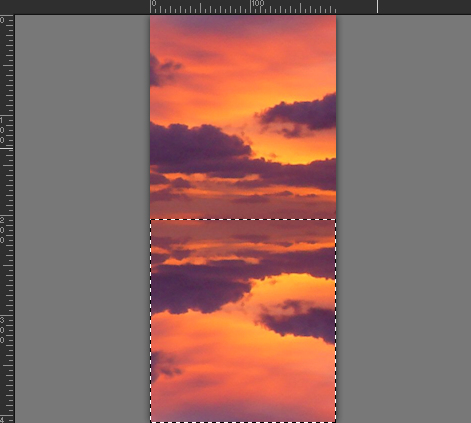
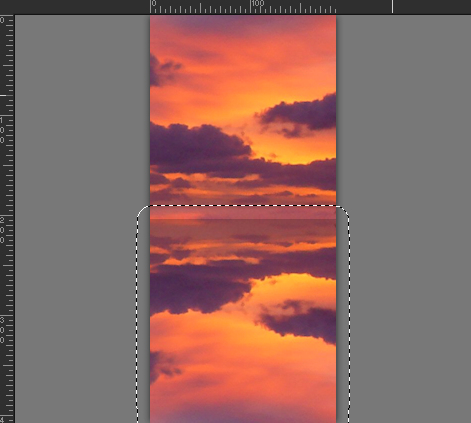
3) Right-click on the layer in the layer palette and select Dublicate. Now you get a layer where the image is exactly like the original. Select image / Mirror and the image will be upside down below. If there is a small space between the images, you can drag it up to the other with the movert tool.
4)
Choose your crop tool. Select “Merged opaqe” in the tooloption palette and double-click on the image. Now it is cut to the edges.
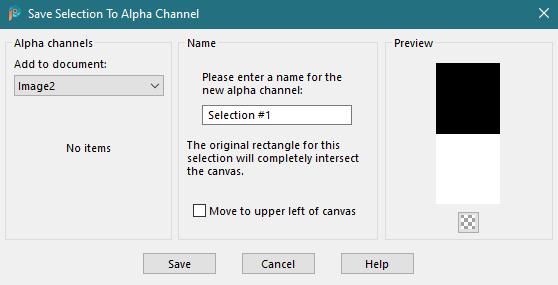
Make a selection around the image In the duplicate layer and save the selection to Alpha Channel. (Selection / Save to alpha Channel).

5)
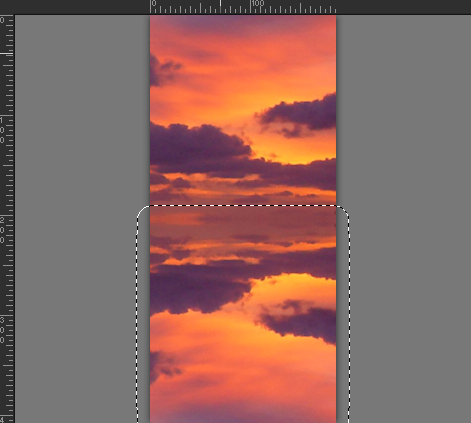
Selection / modify / feather set feather to 15.
Leave layer 1 selected. Select Dogdebrush which is located on the toolbar.

By dragging this tool, you can brighten the part of the image that is selected. This corresponds to the lower part of the image in layer 1. Now you have created the horizon.
Go to selection / Load-save Selection / load from Alpha Channel, and pick up your selection. Now the selection is below the horizon and no longer has a Feather.


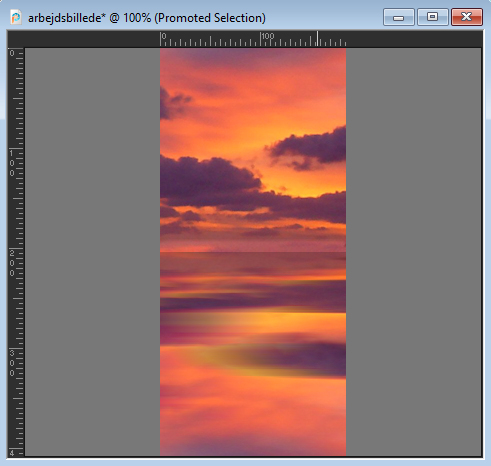
6) Activate the copy layer and select Effect / Distortion effects / Wind. Set the settings as in the picture below. Repeat Wind, but this time select “From right”.

You only need step 7 if you do not want to make an animation, but only have one image.
7)
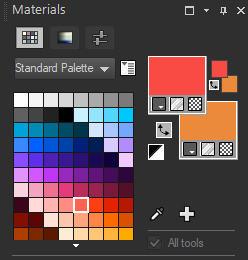
Add a new Layer. And select two of the colors from the image. Now select your Brush Tool and under Presets you download the Brush called Aurora. Use the settings as below. If you do not have this Brush, I have made a guide on how to make one, that looks like it.
Let the new Layer be the active one, and now drag the Brush down over the image so that it looks like faint waves. Remember to get all the way to the top of the selection.


8) You can choose to stop here and say that now you have a picture with “small swells”. You can also choose to continue with the Animation Shop. If you do not have it, you can download it for free here: https://en.freedownloadmanager.org/Windows-PC/Animation-Shop-FREE.html. It’s originally a Program JASC made back then when they were the ones in charge of the PSP. However, it is also found in the extended packages of psp 2021, and perhaps also from earlier versions.
If you want to continue in the Animation Shop, you can skip the whole point 7.
Right-click on one of the layers in the layer palette and merge / flatten all. (The image here we call 1) Make a duplicate of the image with Shift + D without removing the selection. With the copy selected, select your Crop tool and select current selection. Double click and you now have only the water left in one image. (We call this image 2). Save both images in PSP format. Now it has to be animated. In order for the images to be used in the animation shop, you must save them as compatible with PSP 7. Select save and here you select options. Select PSP7 compatible.
Open Animation Shop
9)
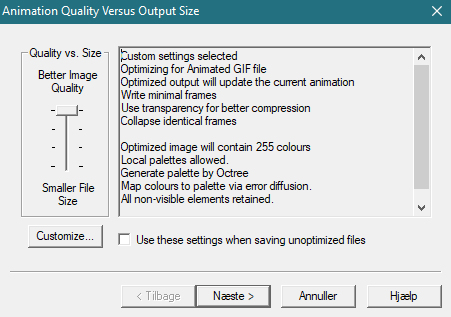
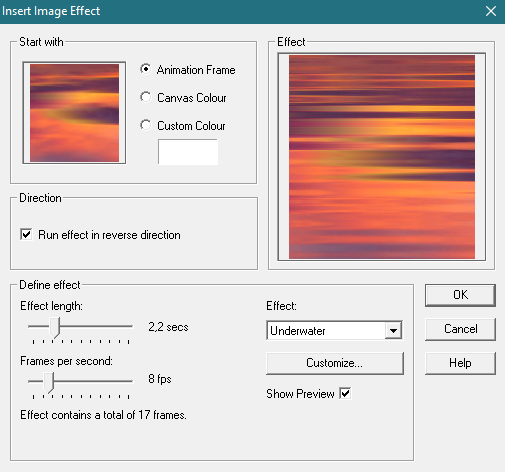
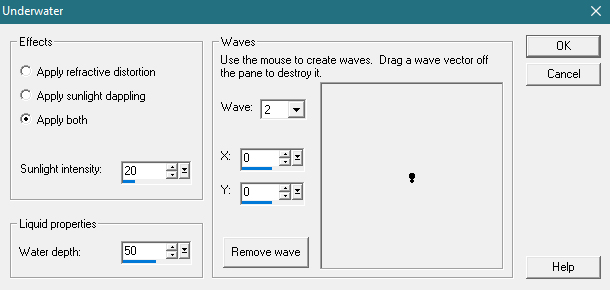
Open image 2. Go to Effects / Insert images effects. Set the settings as below. Click on Customize and also set the settings here.
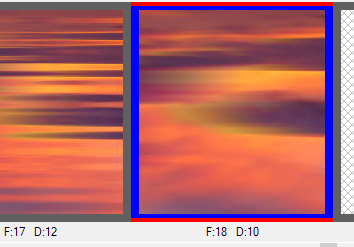
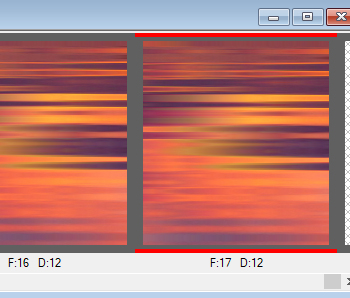
Now you have 18 frames in your animation. Try running the animation by clicking on the icon next to the red arrow. You will see the animation jumps. Scroll to your rear frame. Frame 18. highlight it and press Delete. Make sure that only the one is selected.
You now have 17 frames left. If you run the animation again, you will see that it has stopped jumping.
If you think it’s going too slow, or too fast, select all the frames and right-click on one of them and here select Frame Properties. Here you can change the speed of your animation. I have set it to 9. Try with different settings.

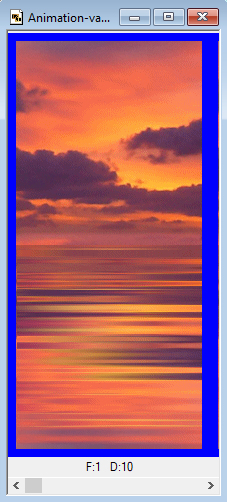
10) Open image 1. Now this image is in a frame. Copy with Ctrl + C and press the “Paste after current” icon which places the copy in the next frame. (There is a red square around it.) You now have two frames with the same image. Keep clicking “Paste after Current” until you have 17 frames with the same image in.

11)
Select the animation you made of image 2. Select a frame and press Ctrl + A to select them all.
Press Ctrl + C for copies. Now go back to the row of frames that contains the image, ie the one with both water and sky. Here, too, press Ctrl + A to select them all.
Now you have to keep your tongue straight in your mouth, (Danish expression for you to be accurate) because now we have to put the animated water in the pictures.
Click on the icon called “Paste into selected frame” You can see it below in the red square. When you now move the mouse, the images from the animation will follow the mouse. It looks like there are only two pictures, but do not worry, they are all there. Drag “Water” down to cover the “Water” of the large image behind.
Only now do you have to click with the mouse to lock them. If you click too early, or the images are not quite right, you can click Undo Or Ctrl + Z and then try again.
Your animation done. Now you just need to save it. Save it as a GIF File.
Try running it once and then see the result. If it chops you can try deleting the first or last frame and see if it does not help.