
Make a Brush in PaintShop Pro.
It is very easy to make a Brush in PaintShop Pro (PSP)
This Brush is intended for use in the” Animated Water tutorial”.
- New (Ctrl+N)
New Image 300 X 300 transparent.
It is important that it is transparent.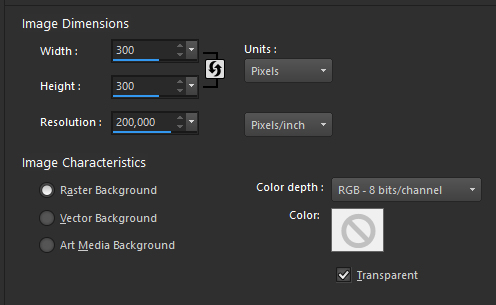
- Brush Tool
Select Brush Tool on the Toolbar on the left.

- Settings
Choose Preset


Use these settings in the Toolbar at the top as shown below.

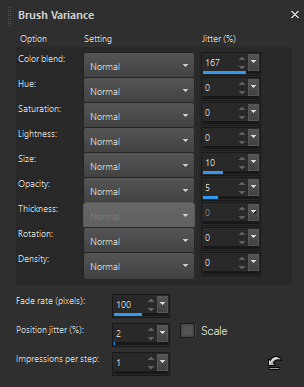
- Brush Variance
Press F11 and the Brush variance palette opens. Use the settings as shown below.
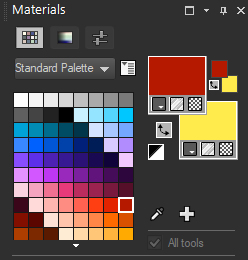
- Materials Palette
Select Foreground Color and Background Color. eg. red and yellow. The colors must not be too similar to each other, otherwise you will not be able to see the effect.
- Test the Brush
Now try dragging the mouse over your blank image.
It should look like that I made in the picture below.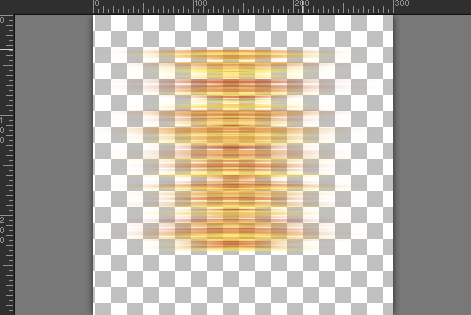
- Delete
Press Delete to delete the content and you will have an empty Rasterlayer again.
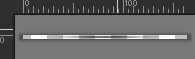
Click the mouse once. You will only be able to see a single and perhaps very indistinct line, and that is exactly as it should be. It is this step that becomes the Brush. - Crop
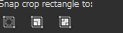
Select your Crop Tool in the Toolbar. Then go to the top Toolbar and select “Snap Crop rectangle to” – Merged Opaque.

Now you will see that the Crop tool will lay around the line. Click on Check mark, or double click on the line and everything around the line will be cut away.

- Save as Brush
Re-enter where you selected the round Brush to begin with.
In the bottom right corner you will find this icon.

Click on the icon and name your Brush.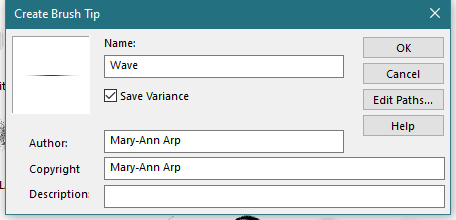
That is all. Now you should be able to find your “Wave” Brush in the overview of all the different Brushes.