Shadows
- Choose an image
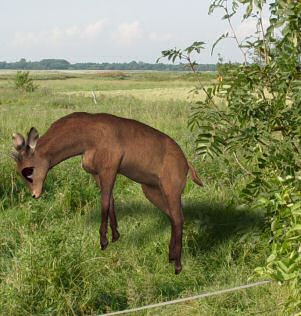
Open the image you want to use for your background.
- New Layer
I have chosen to use a tube to illustrate the procedure. Therefore I have added a new layer that the tube can be in (If it was an object from another image I would put it in as a new layer and thus get an extra layer)
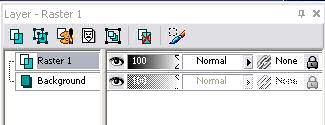
- Add contents
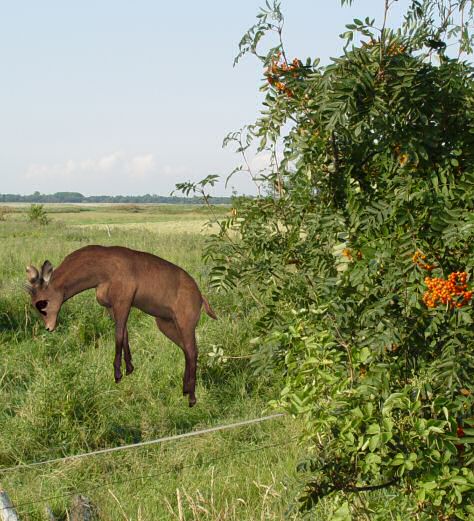
I now put the tube I have chosen into the empty layer. Of course, it does not have to be a Tube.
- Drop Shadow
Make your layer with the object active by clicking on it. Go to “Effects / 3D Effects / Drop Shadow. Set the settings as you want. The main thing is that you notice” Shadow on new layer “. Also be aware that the shadow color should not be black. Find the color from the background there is most prevalent, in this case green, and set the shade color to very dark green, or whatever color you now have.Click ok for this.
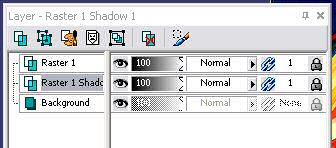
You’ve now got another layer.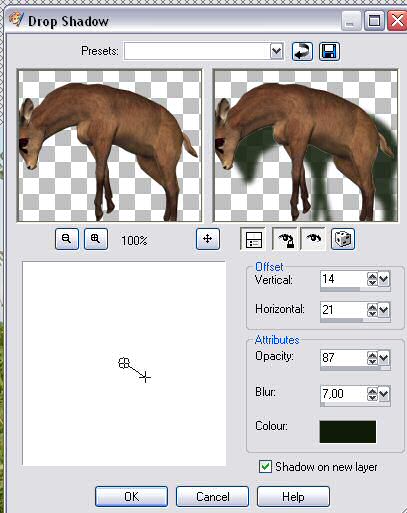
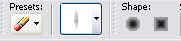
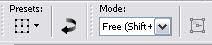
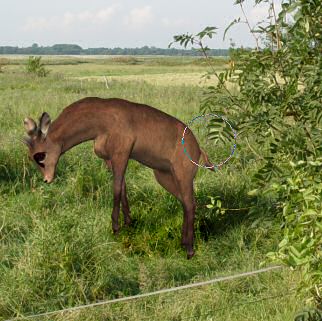
- Pick Tool
Select the Pick Tool and set it to “Free”.
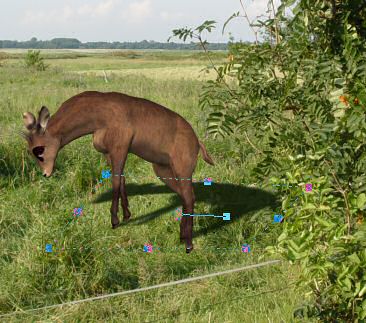
- examples
Pull and push the handles, squeeze the shadow or twist it so that it comes to lie naturally. Remember that the lower the sun is, the longer the shadow will be. In the picture below I have made some examples of light directions and shadows.

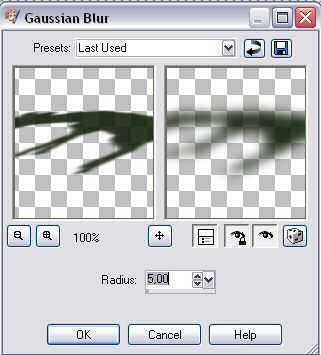
- Gaussian Blur
Now select your shadow layer and select Ajust / Blur / Gaussian blur. Set the radius to 5.
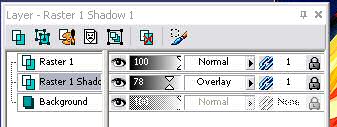
- Blendmode
Set blend mode on the Overlay layer palette and set opasity as you see fit.

- Shadows and shadows again
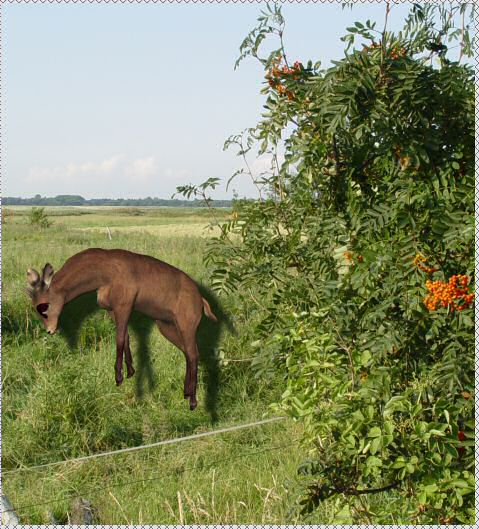
As you know, the trees do not grow into the sky “Danish expression that we ourselves must work a little for the result”. Here we have only done the rough work with Drop Shadow. The shadows that are supposed to make it all look right, you have to “Invent” shadows yourself. And unfortunately, it’s not just done with shadows. If you want the result exactly right, you must also add light. That is actually not as bad as it sounds.
- Burn Tool
Select your Burnbrush and select the background layer. Paint on the background layer under the animal.


- Light and Shadow
Now we need to put light and shadow on the animal.
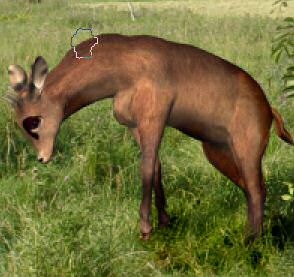
Mark the layer with the animal and cast a shadow on the part of the animal that faces away from the sun (the sun comes here from the right) and where you would otherwise like the shadows to lie. Eg. below the abdomen and the right hind leg. - Dodge Brush
Now I have put some dark shadows on the animal. Now we need to have some light reflexes on.
This time, use your Dodge brush. Click and paint with the dodge tool on the parts of the animal facing the light. (Shoulder, head, forelegs, hind legs and the lower part of the flank).


- Erase
As you can see, the animal still “hangs” a little in the air and hovers. We have to have it down on the ground and because it jumps, it’s only the hind legs we have to concentrate on.
Select your Eraser tool. And an “uneven” Brush, something as the one shown in the picture below. I have used this by clicking a few times on the lower of the hind legs. You must still be able to sense the hoof / leg down in the grass.
Done. That was not so bad, was it?